However this was the day to step up and be counted.
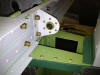
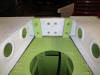
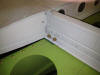
The first job is getting the
HS square with the fuselage. The spacers were put in place
and 3/16" drills to provide the gap at the rear of the HS.
That took about 2 mins. The next 2 hours was spent measuring
the tips of the HS to a datum on the fuselage (skin overlap,
firewall or the NACA duct) and playing with a 1/8 or 1/16 error.
Its a matter of keep going until it measures the same on either
side.
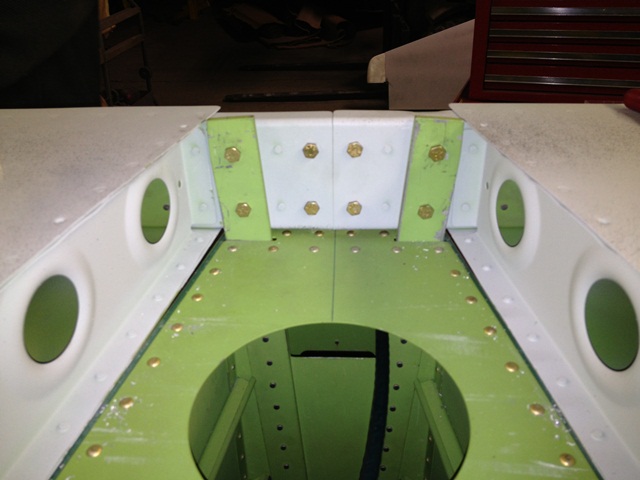
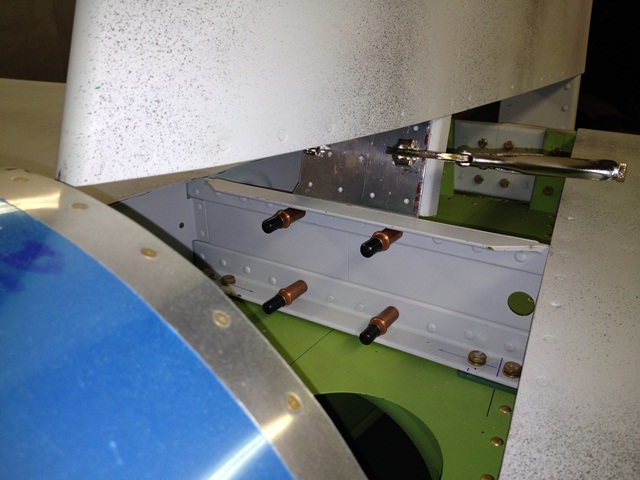
Then clamp it to
death to make sure it does not move. Ok so good so far, now
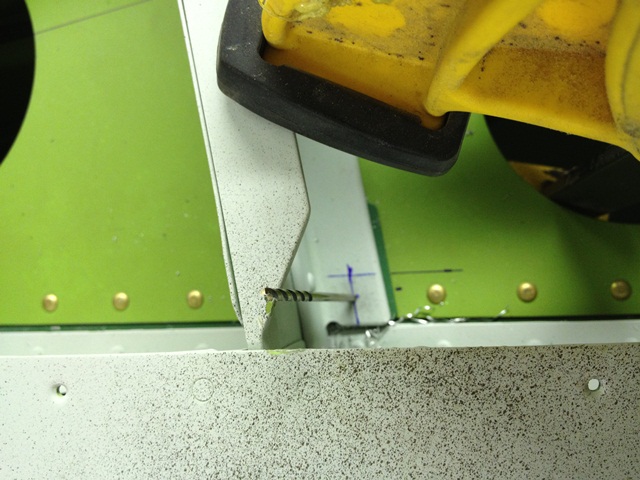
for some measuring and drilling. Edge distance is crucial
here. Its fairly easy to hit the right spot for HS, spacer
and longeron, but the rib strengthener is right at the bottom of
the stack of aluminium. Drill straight and vertical, I
didn't ! and spent the next 45mins shifting the hole gradually to
give the right edge clearance, newbie error!
I couldn't find my extra length clecos to start
with so used a #40 drill. Basically start with #40, then #30
and the 3/16 and keep checking inside the tail for edge distance.


By the time I had done two holes I was was tired
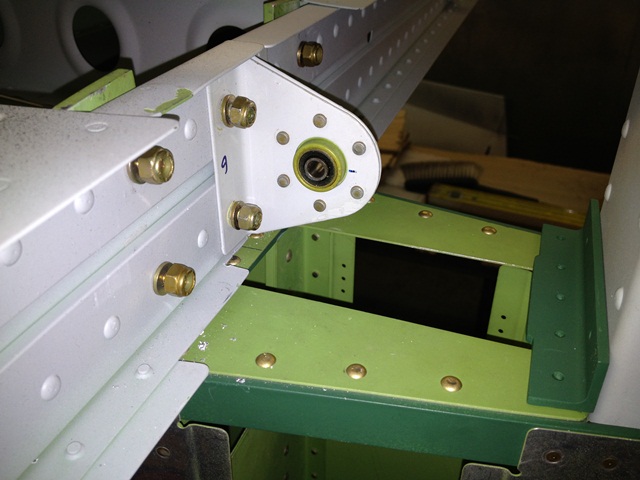
already ! So turned attention to the rear of the HS. This is
a lot more straightforward just drill away through the holes in
the upright spars.
Then back to the front and finished enlarging and
the other two bolts.
Phew. Some late lunch and then onto the VS.
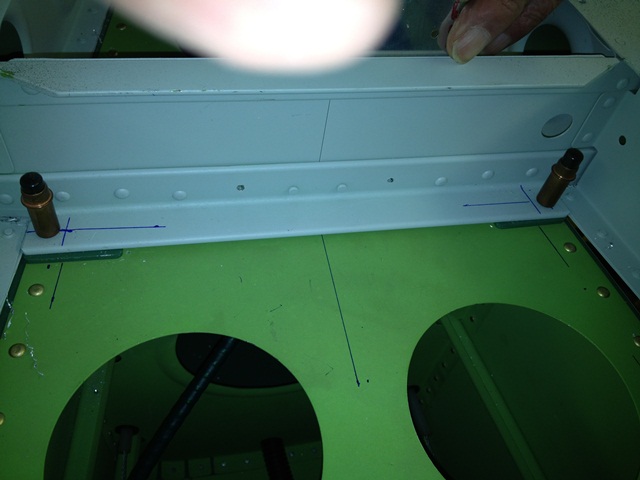
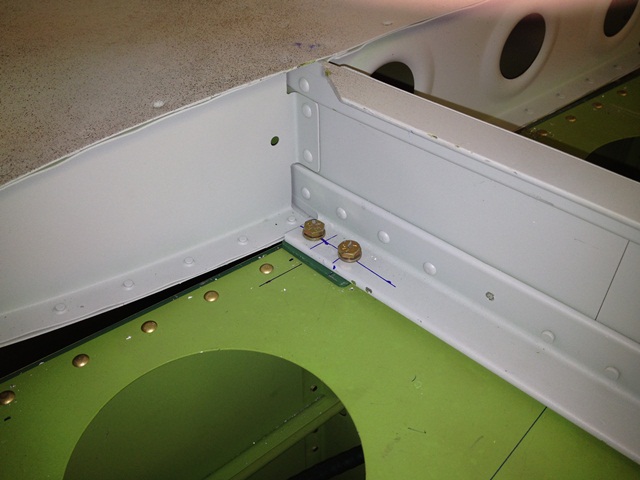
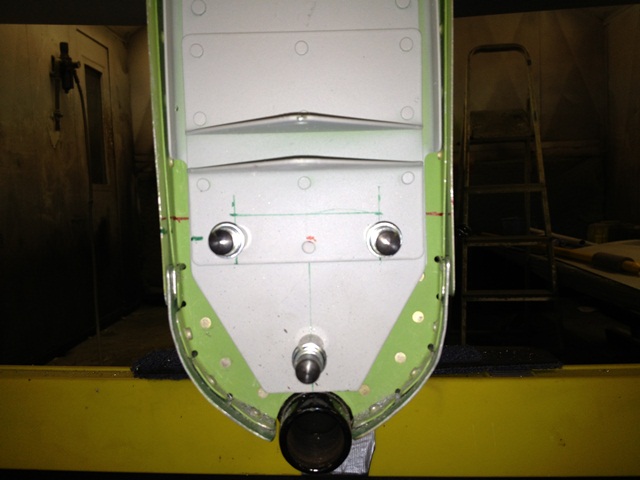
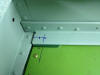
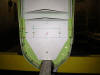
Now before you start the VS its best to mark up the rear bulkhead
so yolu have a visible mark for where top of the tail spring plate
rests on the inside of the bulkhead. Because it needs 3/8ths
edge distance for the two bolt holes that are drilled to hold the
VS on. Its also easier to mark up the VS without it on the
fuselage. Then mate the two together and the lines should
line up. In the picture below the two red lines represent
the top of the plate on the inside. The long green line at
the top identified from the plans has to align with red lines.
Then clamp.
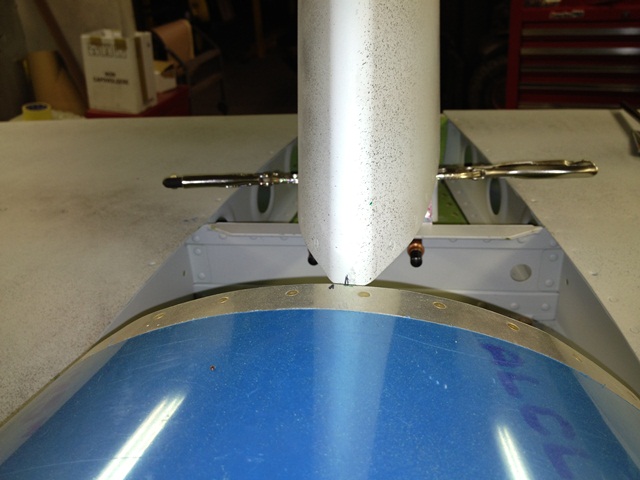
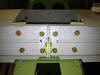
Position the front of the VS, 1/4" off to the left
side of the fuselage.
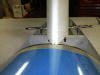


Then measure from the top of the VS to the tips of
HS on either side. It should measure the same, if not tweak
it, re-clamp and re-measure. Only took 10mins to get this
right, wish it had been the same for the HS.
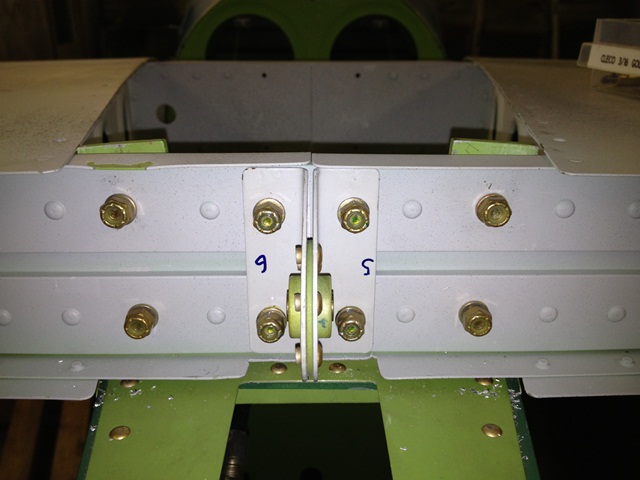
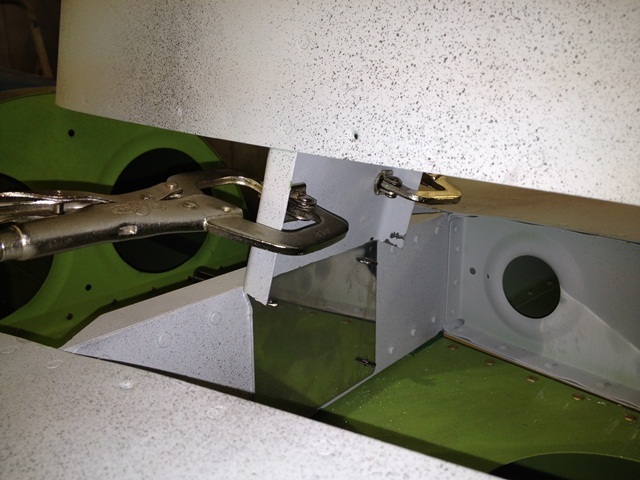
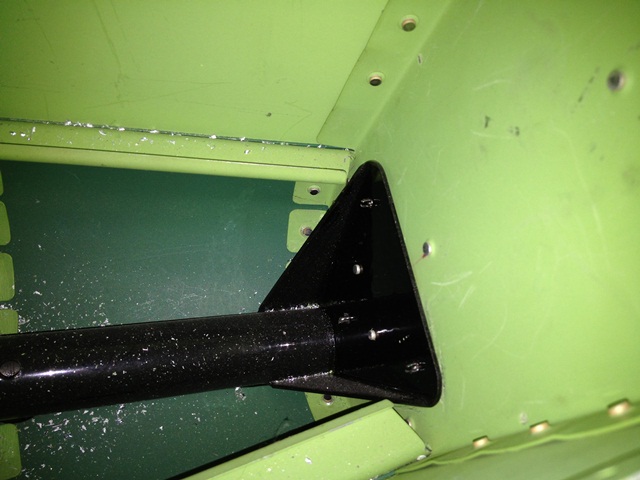
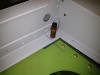
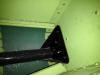
Anyway with it upright and square, and the front of
the VS set a quarter inch from the centre line, I drilled the
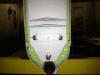
holes at the bottom of the VS. In the second picture you can
see what I meant about edge distance on the tail spring plate on
the inside of the bulkhead.
The day had to end there, I was tired and I still
need to open up the holes, drill the front plate and add in the
high elevator stop.